Photographers have so many things to stress out about during a photo shoot. They tend to favor a model who knows his or her body and what poses work for his or her look. The last thing a photographer wants to do is coach a model in basic posing throughout an entire photo shoot. As a photographer, we will guide models as to what we want for our vision, but spending more than a minute instructing a model on the exact pose we’re looking for can be very frustrating. Here are a few posing tips that many photographers will be grateful for models having the knowledge of being able to execute during a photo shoot.
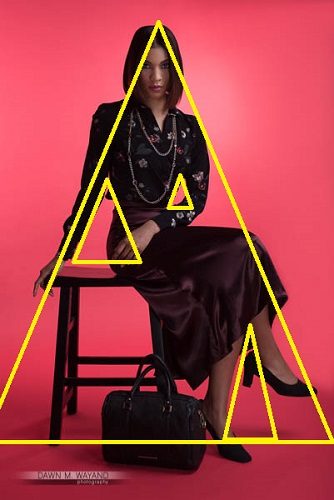
Angles. Photographers typically look for geometrical angles in the poses of their models – specifically triangles – as triangles tend to evoke a stronger reaction out of a viewer due to its simplicity and completion of shape in an image. We look for triangles in arm poses, leg poses and 3-person group images.
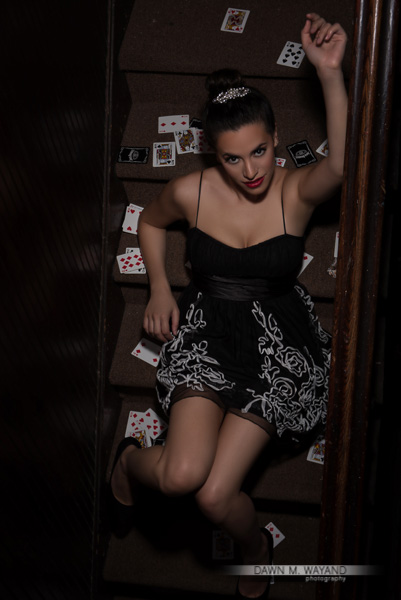
Dynamic Feet. Both feet pointed in the same exact direction can have an image evoke a feeling that it is 2-dimensional or that it was posed. What I mean by posing feet dynamically is when one foot is posed differently than the other. You might have the subject with one foot pointed outward to one side and the other foot straightforward toward the camera. Alternatively, you might have the subject with one foot arched up onto his or her toes or even have his or her feet crossed. These subtly different types of poses with feet make for a much more interesting composition.

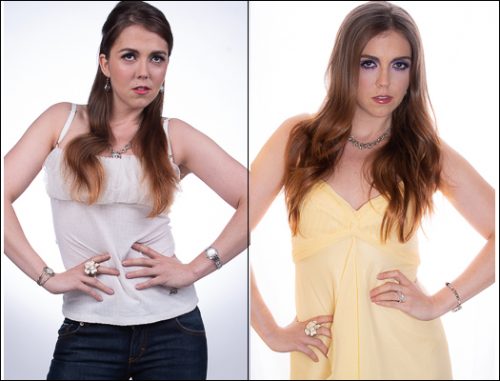
Symmetrical and Asymmetrical Posing. Symmetry posing works well for straight on photographs of faces in showing that the eyes, nose and lips mirror one side to the other. However, when implementing symmetrical triangular angles in the arms straight on with the camera, especially with women, it can make the model look like a bodybuilder rather than a model posed in a more appealing way. As a model, when placing one hand on your waist, be sure your other hand falls on a hip or somewhere above the waist, whether it’s flowing fingers in the hair or a hand on the shoulder or chest.
Practice and implement these three pose techniques in your upcoming shoots, and you’ll not only come off knowing how to work your body, but you’ll also take a little bit of work off of the photographer, which could end up in a call-back for additional work!